Workspace Management
Manage your workspaces from the workspace switcher in the top navigation, and from Manage Workspace → Settings for the currently-selected workspace. Create new workspaces, switch between them, and update their settings.
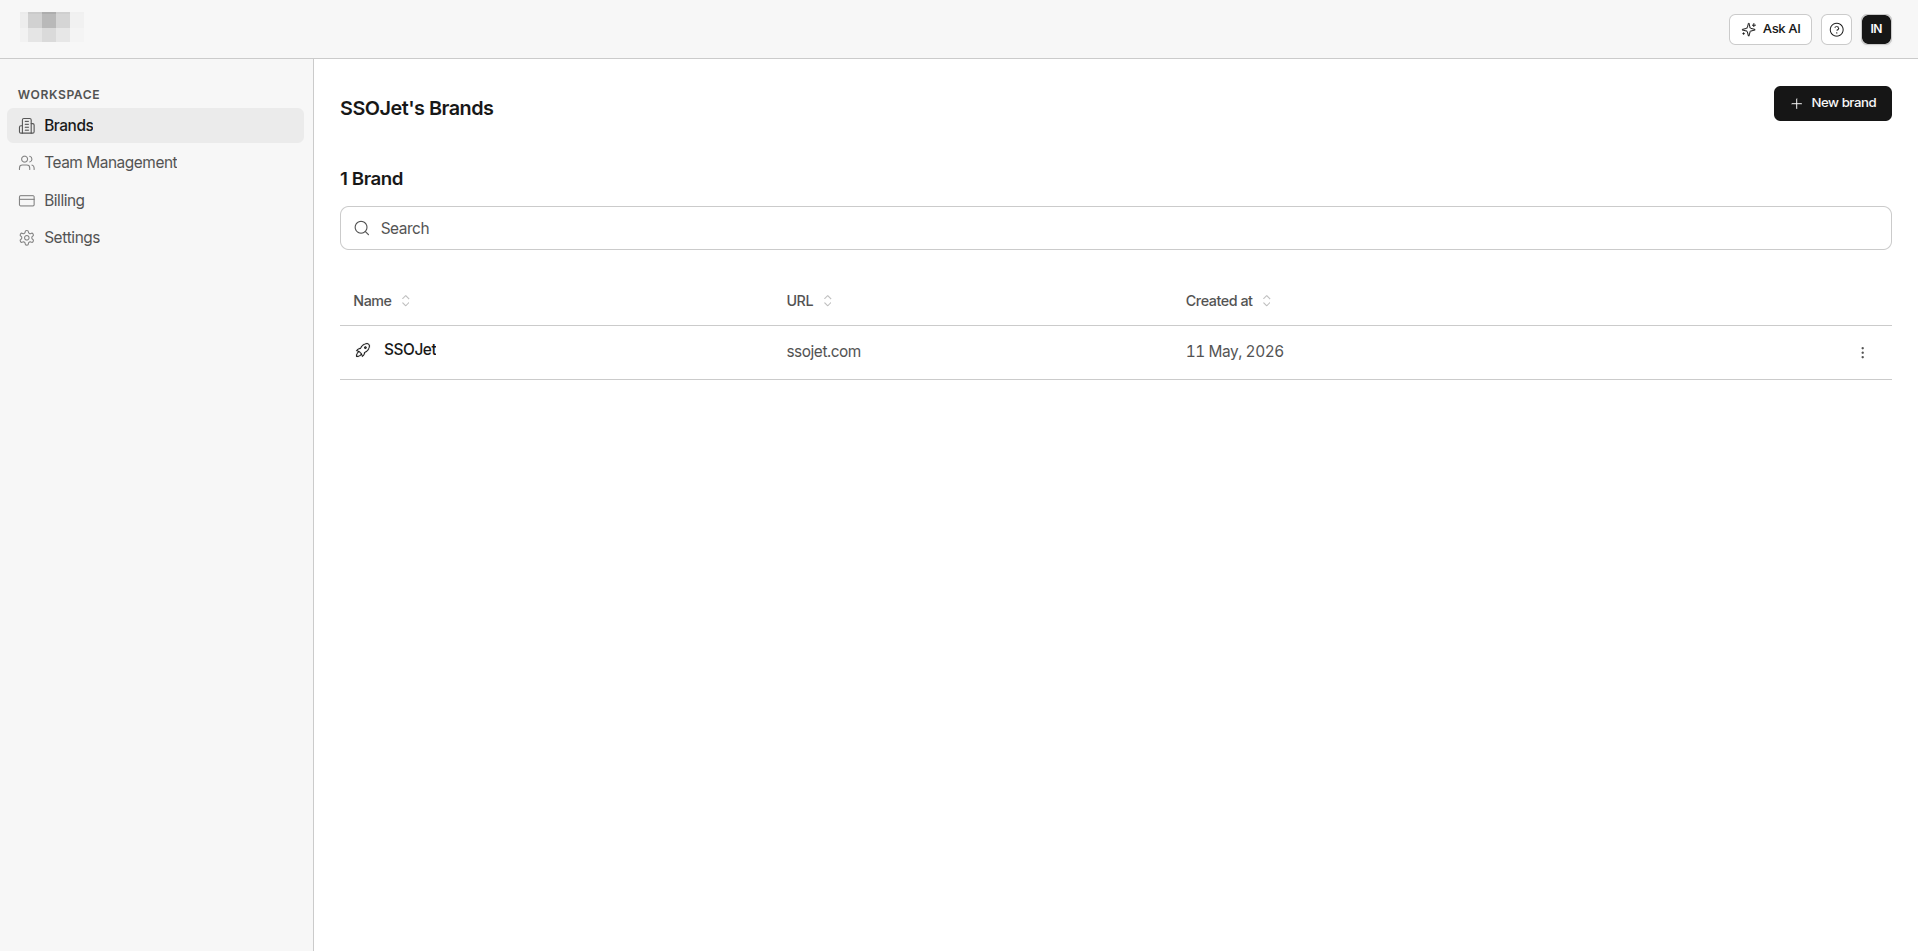
Workspaces
A workspace is a container for all your brands, prompts, monitor groups, and data. Everything in GrackerAI lives inside a workspace.
Workspace Types
| Type | What It Does | Best For |
|---|---|---|
| Multi-brand | Workspace holds independent brands - cross-brand analytics and portfolio view | Agencies managing multiple clients |
| Multi-product | Workspace holds one company's product lines - unified brand with per-product reporting | Companies tracking multiple products under one brand |
Switching type only changes UI labels - Brand ↔ Product. All existing data, monitors, and analytics stay intact.
Create a New Workspace
- Click your workspace name in the top navigation
- Click + New Workspace
- Enter a workspace name
- Enter a slug - a short URL-safe identifier (lowercase letters, digits, dashes only)
- Select a type (Multi-brand or Multi-product)
- Click Create
Each workspace has its own brands, prompts, monitors, billing, and team - completely separate from other workspaces.
The slug cannot be changed after creation. Choose something short and memorable - it appears in internal links.
Switch Between Workspaces
- Click your workspace name in the top navigation breadcrumb
- Select a workspace from the dropdown
The switcher only appears if you belong to more than one workspace.
Update Workspace Settings
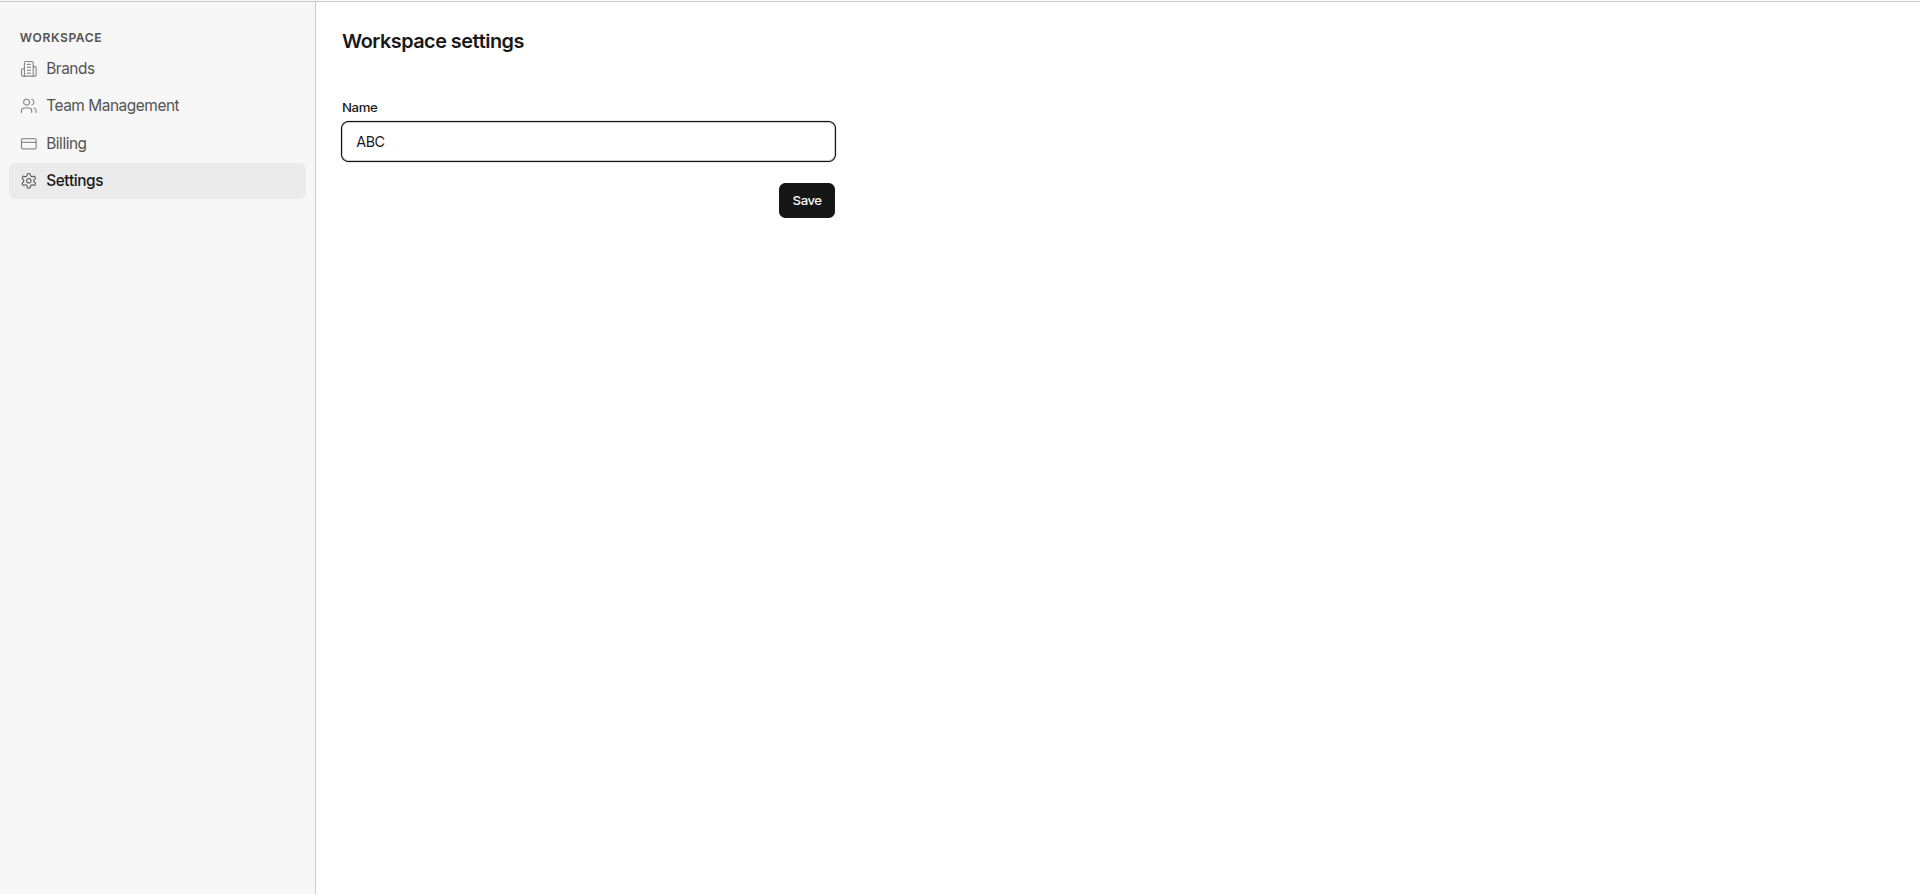
- Click your workspace name in the top navigation
- Click Manage Workspaces (admin only)
- Click Settings in the left rail
- Update the name
- Click Save
Your Profile
Separate from workspace settings, your personal profile covers your own avatar, name, and phone number - not your account's email or password.
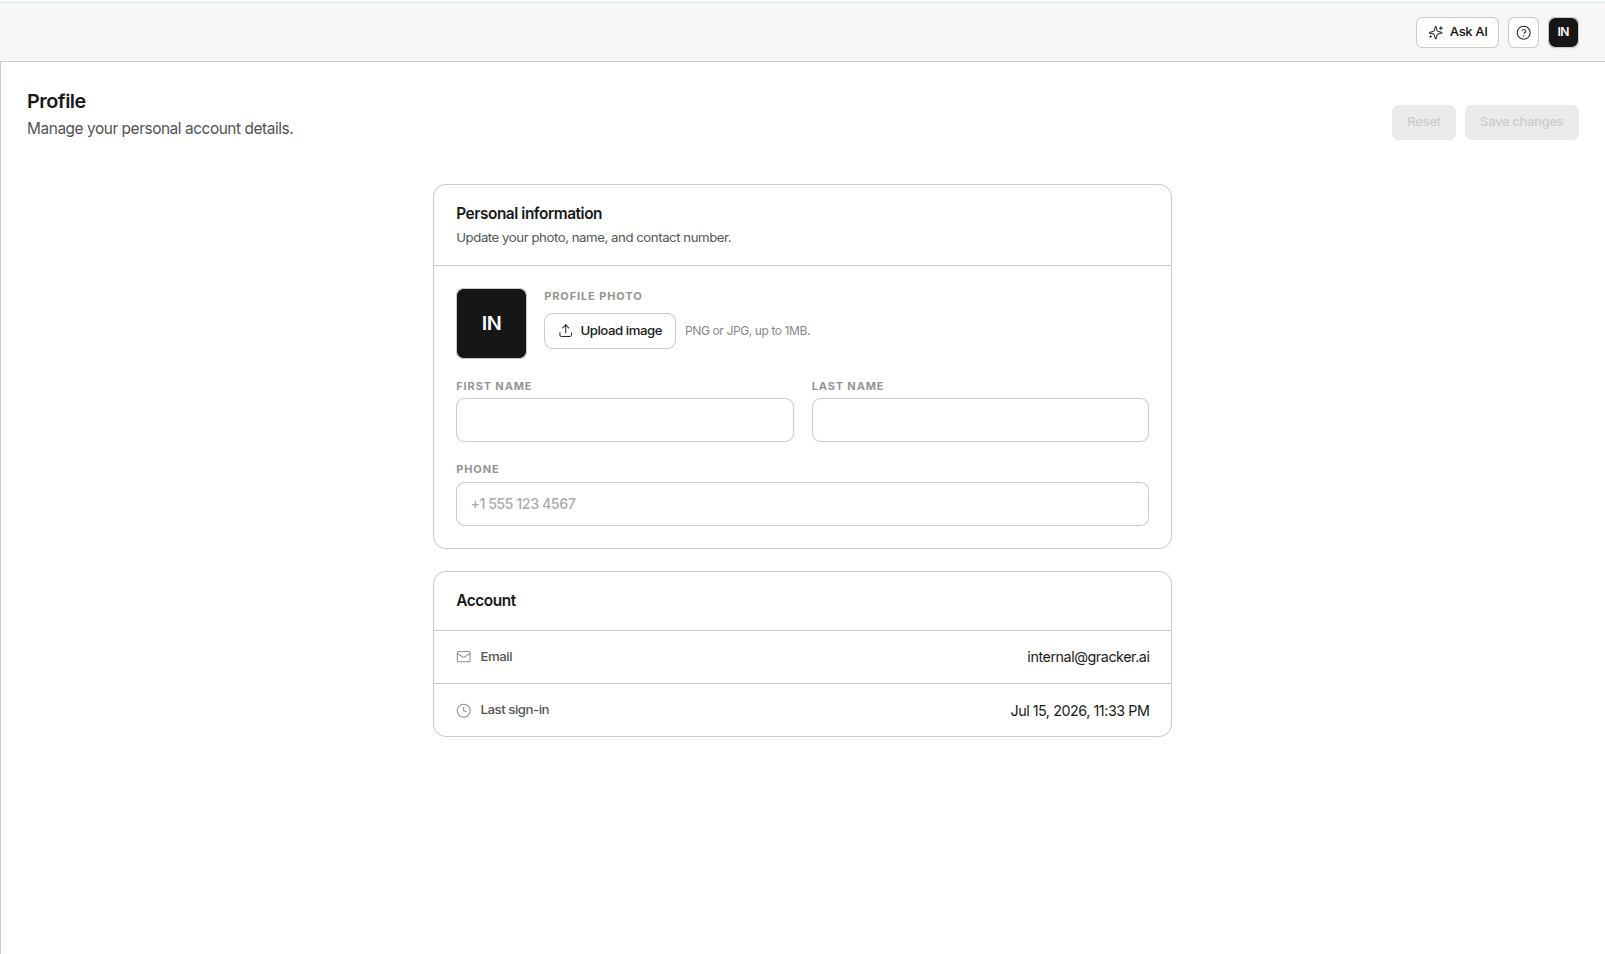
To update it: click your avatar in the top navigation and select Profile.